{tocify} $title={Table of Contents}
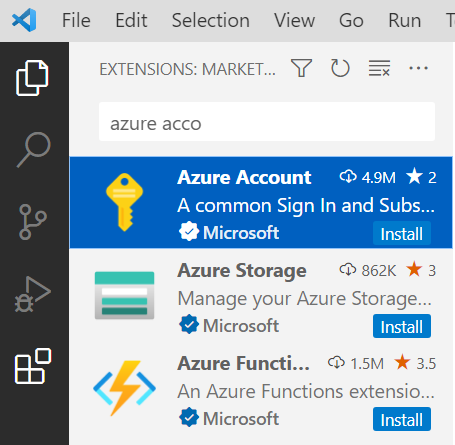
It provides a single common Azure sign-in and subscription filtering experience for all other Azure extensions in Visual Studio Code.
We would use Postman app to test locally and before we run or debug logic app we need to Start Azurite
Introduction
We discussed about logic app standard offering in following post -
One of the feature is that we can develop logic app standard workflow locally using Visual studio code.
In this post we will see how to setup the local dev env and an example of http triggered based stateful workflow using the env we setup.
Setting up local dev environment
Visual studio code
It's a free IDE and can be downloaded from - https://code.visualstudio.com/ and install it.
After installation is done we need to add few extensions into it.
Add Azurite
As we need to set up a local data store for logic app project and workflows to use for running in your local development environment.
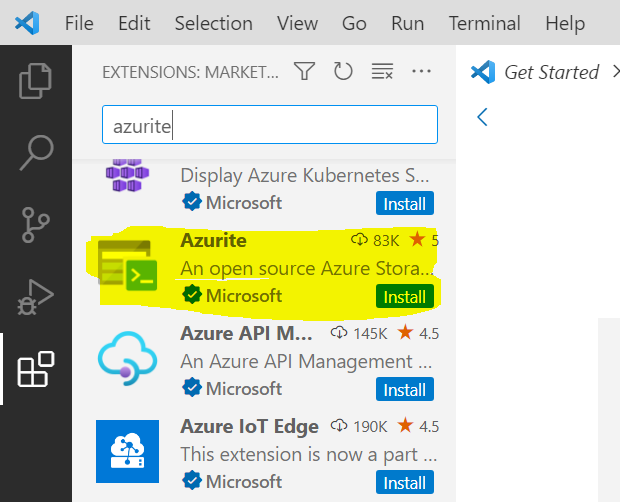
Open visual studio code and go to Extension and search for Azurite and install it (as highlighted below)
Alternatively it can be downloaded and installed from - https://www.npmjs.com/package/azurite
Azure Account Extension
In the extension search for Azure account and install it (as highlighted below)
C#
It enables F5 and ctrl+f5 functionality to run and debug your logic app.
Azure Functions core tools (4.x version) using msi
Download the Azure Functions core tools (4.x version) from - https://github.com/Azure/azure-functions-core-tools/releases/tag/4.0.4865 and install it.
Note : Going forward 3.x version will not be supported - https://techcommunity.microsoft.com/t5/integrations-on-azure-blog/azure-logic-apps-standard-now-supports-azure-functions-v4/ba-p/3656072
Azure Logic Apps Standard Extension
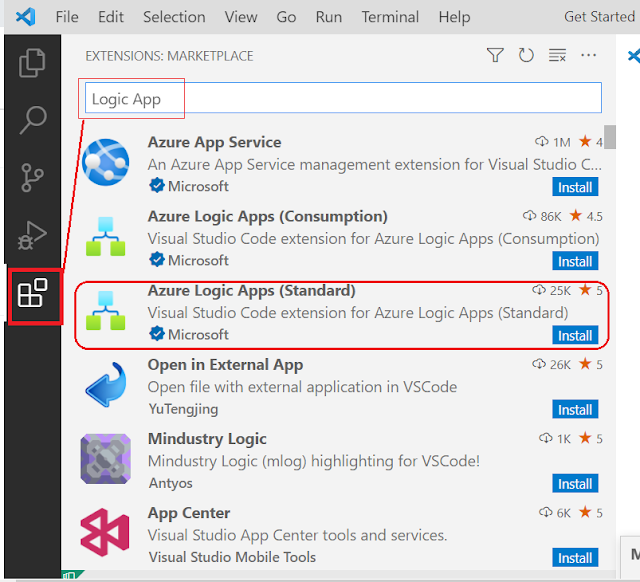
In visual studio code, click on Extension Icon and search for Logic App and from the results displayed - click Install button for Azure Logic Apps (Standard)
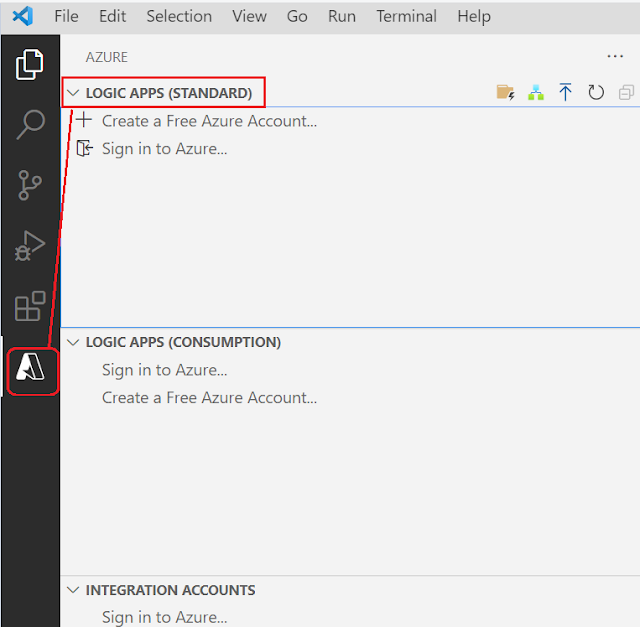
Once it is installed, it should be visible as seen in image below
Developing Logic App Standard Workflow Using Visual Studio Code
First thing is to sign in to Azure .
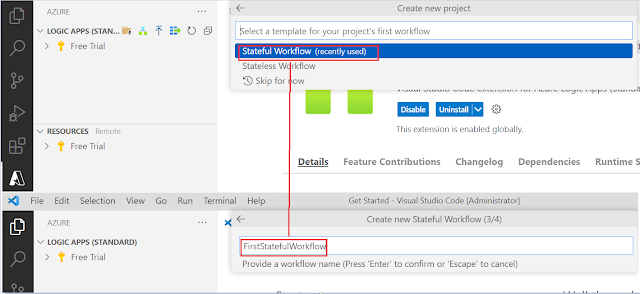
Next is to click on folder Icon to create new project, select the folder you want
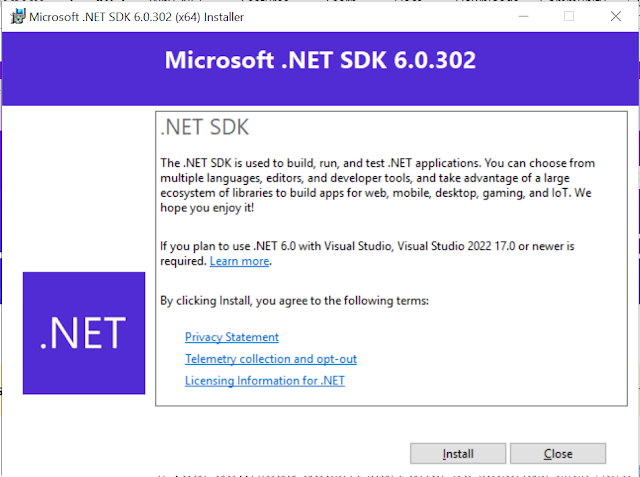
So we also need .Net core SDK , it can be downloaded from - https://dotnet.microsoft.com/en-us/download
After downloading the setup, run it
Click on install
Just closed the visual studio code, opened again and tried to create project and it allowed now.
Click on the Folder with bolt and provide folder
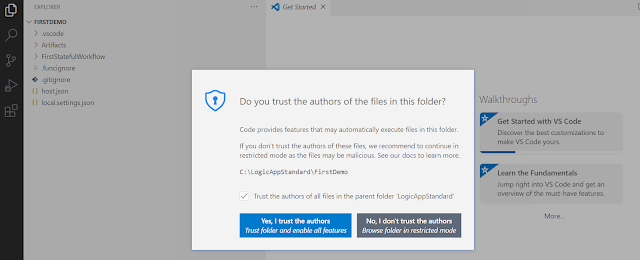
If you see below message then just click on Yes, I trust the authors
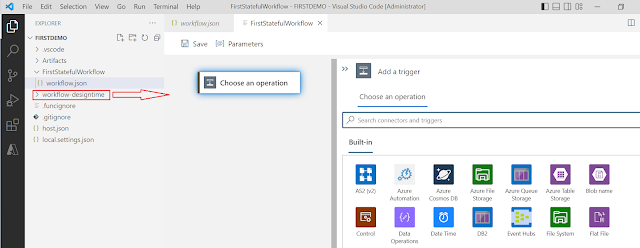
Following should appear on the screen, workflow.json file gets added
For the sake of demo, will create a simple request response workflow.
Save the workflow.
Let's test it now.
Testing
Read about the error I faced when started testing - https://www.tech-findings.com/2022/12/failed-to-execute-fetch-on-window-failed-to-parse-url.html
Click on Run or debug, and you should see the url under Terminal section (we are not going to use it)
Go to overview and capture the Callback url
Use this url for testing, in postman app
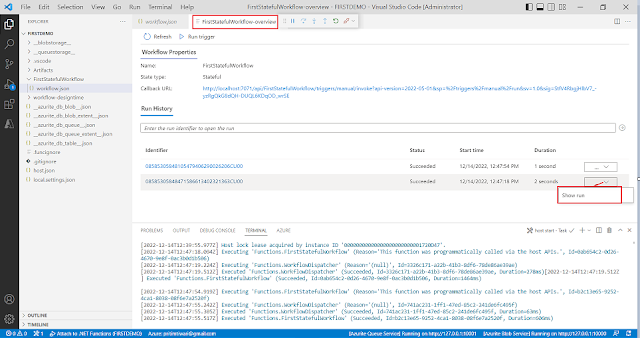
Let's now check if we can see the run history, go to Overview
Note : Here we tested the workflow locally via localhost url. If you want to test it over internet or publically then you can use a forwarding service and tool such as ngrok (https://ngrok.com/)
Learn More about Logic App
- How to configure Logic App Standard workflow behind Azure APIM
- How to Query Azure Table storage from Logic App | How to filter results of Azure Table storage from Logic App
- Understanding expressions in Logic Apps | Frequently used expressions in Logic Apps | What is expressions in Logic App
- How to use Logic app Run History | How to troubleshoot Logic App workflow execution
- Logic App and Slack - Sending messages to slack channel | Logic app and slack integration | Connecting Logic App to Slack channel
- How to access Application settings fields value from Logic app Standard workflow | Using Application settings as configuration store for Logic app standard workflow
- Developing Logic app standard workflow which uses Map locally and deploying to Azure
- Developing Logic App Standard Workflow Using Visual Studio Code | Create Logic App Standard Workflow Using Visual Studio Code
- Logic App - Xml to Json using Liquid Map | Append in Liquid Map
- How to use Azure Event Grid Custom Topic | Publishing and Subscribing from Azure Event Grid Custom Topic using Logic App
- Using Azure Storage Account Table as Config Store for Logic Apps | How to read and write from Logic App to Azure Storage Account Table
- Get Logic App Name in Logic App
- Difference between Logic App Consumption and Logic App Standard
- Getting Started with Logic App Standard | Overview of Logic App Standard | Basics of Logic App Standard
- How to find count of Logic App executions using Azure Portal
- Azure Functions vs Azure Logic App | Difference between Azure Functions and Azure Logic App
- Getting started with Logic App : Liquid Map | Using Liquid template in Logic app
- How to get actual error message of Scope in Logic App | Exception Handling in Logic app
- Interview questions and answers on Logic Apps | Interview questions for azure logic app developers
- How to execute Stored Procedure in Logic App | How to connect to SQL in Logic App
- How to get current date in logic app | How to format date time in Logic App
- BizTalk Developer getting started with Logic App
- Getting Started with Logic Apps - Fundamentals
- Getting Started with Logic Apps - Enterprise Application Integration
- Getting Started with Logic Apps - AS2
- Getting Started with Logic Apps - EDI X12 Fundamentals
- Getting Started with Logic Apps - XML to EDI X12
- Getting Started with Logic Apps - EDI X12 to XML
- Getting Started with Logic Apps - What happened to the Request?
- Inserting Multiple Records In On Prem SQL Using Logic App
- Inserting data in On Premises SQL Database using Logic Apps
- Installing and Configuring On Premises Data Gateway - By adding user to Active Directory
- XML Batching(Aggregation) in Logic App
- Batching(Aggregating) messages in Logic App
- Debatching(Splitting) JSON Message in Logic Apps - ForEach and SplitOn
- Debatching(Splitting) XML Message in Logic Apps - ForEach and SplitOn
- Securing Logic App with Azure Active Directory authentication
- Removing ns0: prefix from xml output from BizTalk/Logic app XSLT map
- Using Managed Identity in Logic Apps for Calling Active Directory Secured Function App
- Logic Apps : Fetching ISA and GS Segment Values From Interchange Envelope and Mapping
- Logic Apps : For Each Inside a For Each - Fetching values from field in an array inside an array
